Do you like this versatile fanny pack cum bag I made? Do you want to learn how to crochet a bag that you can use in many ways?

The crochet stitches you should know to make this bag are:
-chain to start and get to the next row to crochet (noted as "ch" in written instructions or seen as a circle in Japanese instructions with symbols)
-single crochet (noted as "sc" in in written instructions or seen as "x" or "+" in Japanese instruction with symbols)
-slip stitch to end a row (noted as "ss" in written instructions or seen as a dot in Japanese instruction with symbols)
Nordic Hook provides the best instruction for beginners. Check out their link to "Single crochet (sc)" and you will see a video instruction tutorial. There are also photos for each step you have to make.
This is the crochet pattern that I found on Pinterest. I modified the size so I can insert the worn out fanny pack, that I currently used, in it. In that way it works like separate compartments in the new bag.

I started making the base of the bag with 8 chain and crochet up to 32 rows of single crochet (R1-R32 sc). This is how the Japanese instruction with symbols for the base will look like.

The Japanese instrucion symbol for 2 single crochet in 1 stitch looks like this.


To crochet the body of the bag, consider the next row, Row 34, as Row 1.
Do single crochet at Row 1 all around up to Row 26
= R1-26 ("x" in all stitches, ss to join to 1st "x")*, 1 chain up, turn for next row and repeat *
= R1-26 ("x" in all stitches, ss to join to 1st "x")*, 1 chain up, turn for next row and repeat *

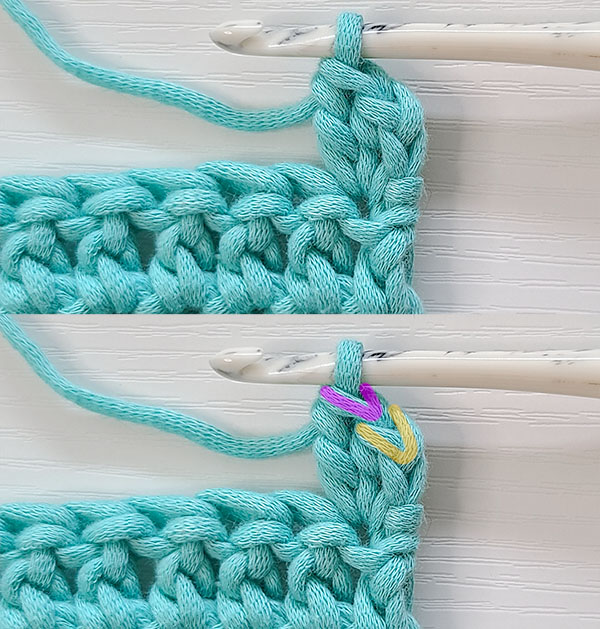
At R27, do a back loop only single crochet (blo sc). You can learn how to crochet that stitch at Nordic Hook.
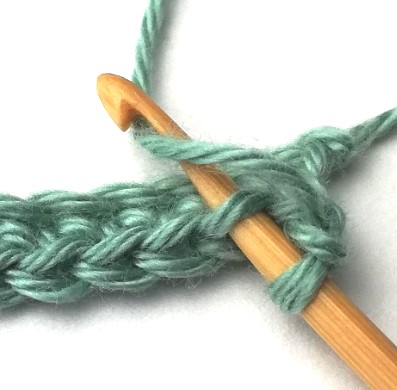
The back loop only stitches will allow you to fold that row neatly. At R28 to R31 continue to single crochet all around. These are the kind of Japanese instruction symbols you will see for such stitches.

By this stage, you have completed making the shape of the bag. Let's add a flap to it...

...that can be used two ways. That is, to cover the opening of the bag (with the top folded down) or leave at the side of the body, which actually covers the pocket for the straps I need when I use the bag as a fanny pack.

I started by making 32 chains and single crochet up to 23 rows = R1-R23 sc.
I stitched the flap to the bag on the 9th row from the opening of the bag as shown above.
As I am also using the bag as a fanny pack, I must be able to hide the straps I crochet for the waist when I use it as a regular bag. I crochet slits at the top of a pocket I made in order to hide them neatly.

Then I crochet the straps to the pocket beside the slits so that they can be slipped through for storage.

To make the pocket for the straps, I started with 20 chains and single crochet till row 13= R1-R13 sc
At row 14, I single crochet all around
At row 15, I made the gap at the top by making 6 chains, then single crochet to the other side and leave a 6 chains gap
At row 15, I made the gap at the top by making 6 chains, then single crochet to the other side and leave a 6 chains gap
At Row 16 single crochet all round and slip stitch to end.
I sew the pocket to the bag, at the third (3rd) row below flap
For the left strap I made from the top of the pocket near the slit, 6 single crochet up to 32 Rows. Then I sew a buckle on to its end.
For the right strap, I made from the top of the pocket near the slit, 6 single crochet up to 23 Rows.
I attached metal rings to the sides of the bag, so that it can be used with other type of handles like this chain handle. The flap looks shorter in this photo compared to the first photo of the bag I shared because the top four rows are not folded down.

You can check out the kind of hardware you can consider using to style your bag, by watching this video:
I am able to use this bag in many different ways by:
-changing its size.
-changing its handle.
-using it as a fanny pack or a shoulder bag.
-turning it inside out to use
If I want to, I can:
-make the flap detacheable so that I can change the colour or shape of the flap.
-embellish the bag with crochet letters, heart shapes or cute or nature related patterns.
-embellish the bag with crochet letters, heart shapes or cute or nature related patterns.


